
Local Web UI
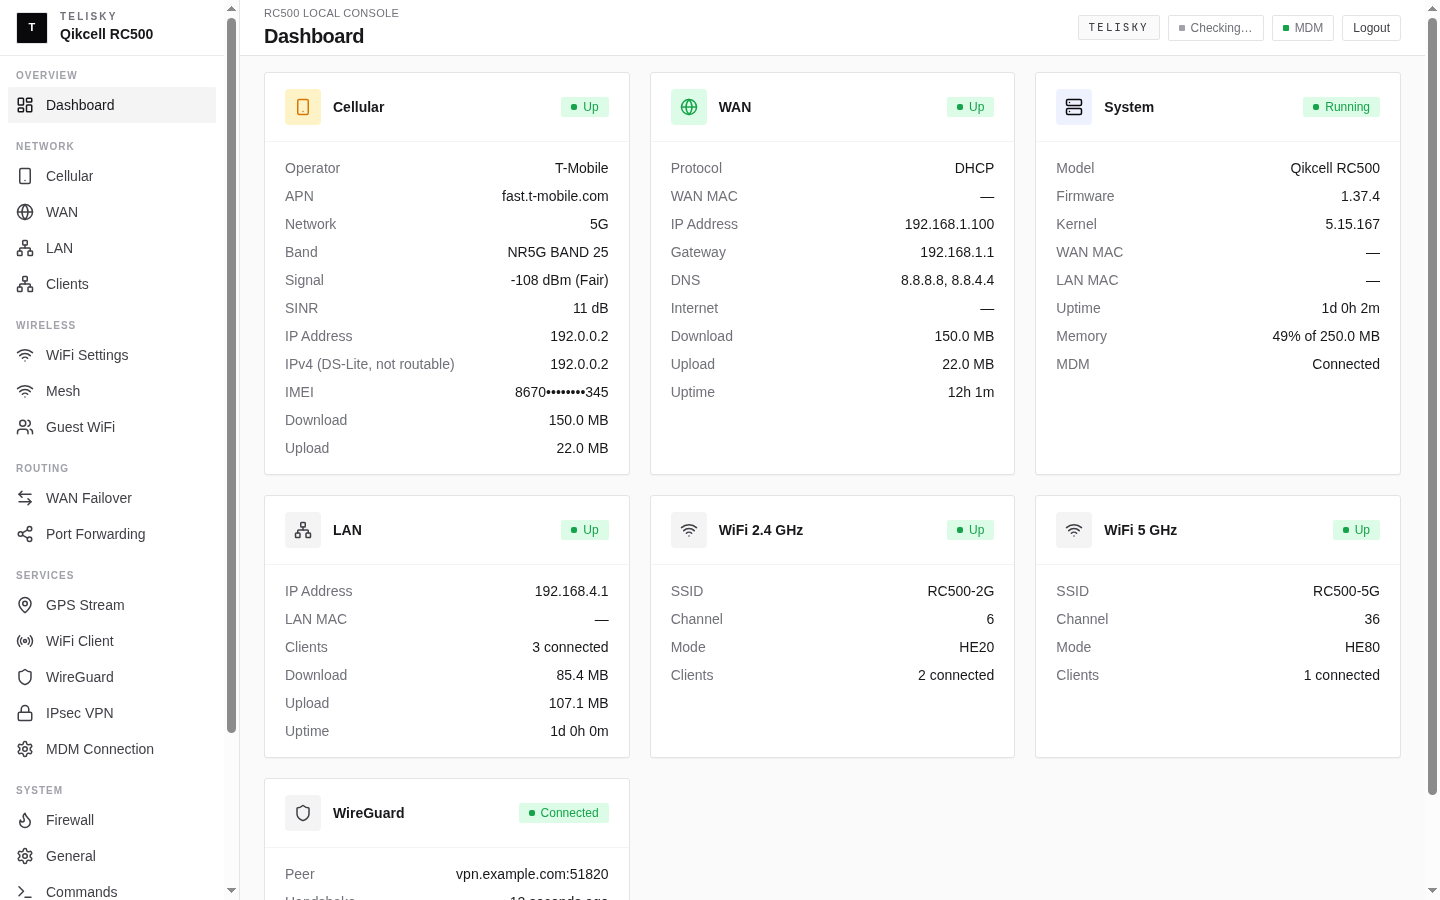
Every RC500 runs a local management interface you can reach on-site at http://192.168.4.1. It works even when the router has no internet, which makes it the right tool for first setup and for recovering a router that cannot reach the cloud.
Accessing the local Web UI
Section titled “Accessing the local Web UI”- Connect to one of the router’s LAN ports, or join its WiFi network.
- Open a browser and go to
http://192.168.4.1. - Sign in using the credentials supplied with your device or deployment packet, then change them during first setup.
Dashboard
Section titled “Dashboard”The dashboard is the router’s home page. It shows current state at a glance: uptime and firmware version, internet/cellular/WiFi status, cellular signal, connected client count, and recent traffic.
Network
Section titled “Network”| Page | What it does |
|---|---|
| Cellular | APN, SIM selection, modem status, and signal |
| WAN | Wired (Ethernet) internet settings |
| LAN | Router address, DHCP range, reserved addresses, and Ethernet port roles |
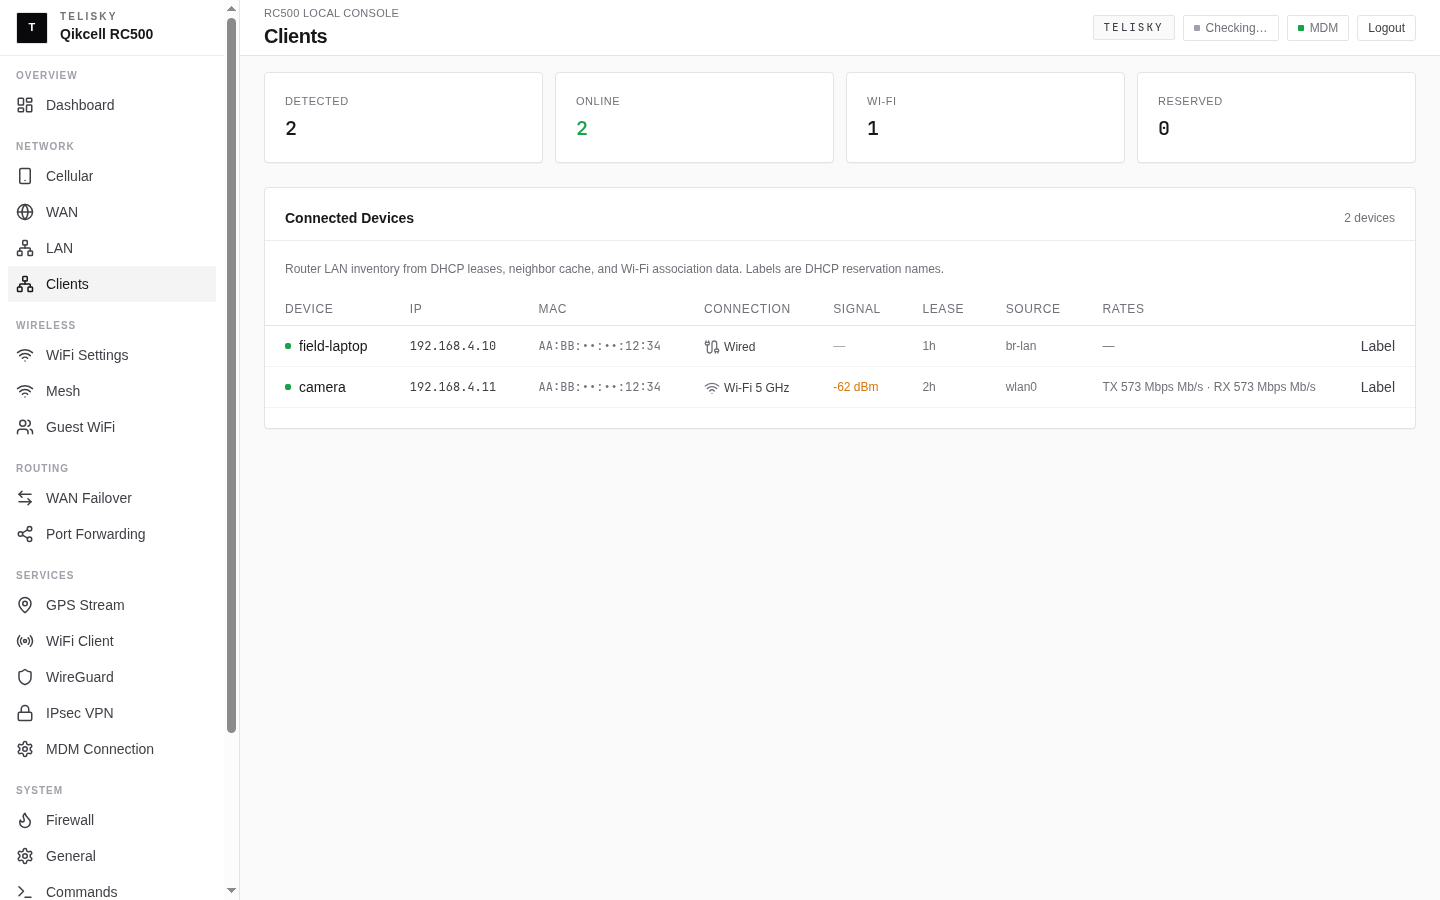
| Clients | The devices currently connected to the router |
| Diagnostics | Run bounded DNS, route, gateway, ping, traceroute, TCP, and TLS checks on one uplink |
Wireless
Section titled “Wireless”| Page | What it does |
|---|---|
| WiFi Settings | Enable radios; set network names, passwords, channels, and a join QR code |
| Guest WiFi | A separate guest network with its own name, password, and client limit |
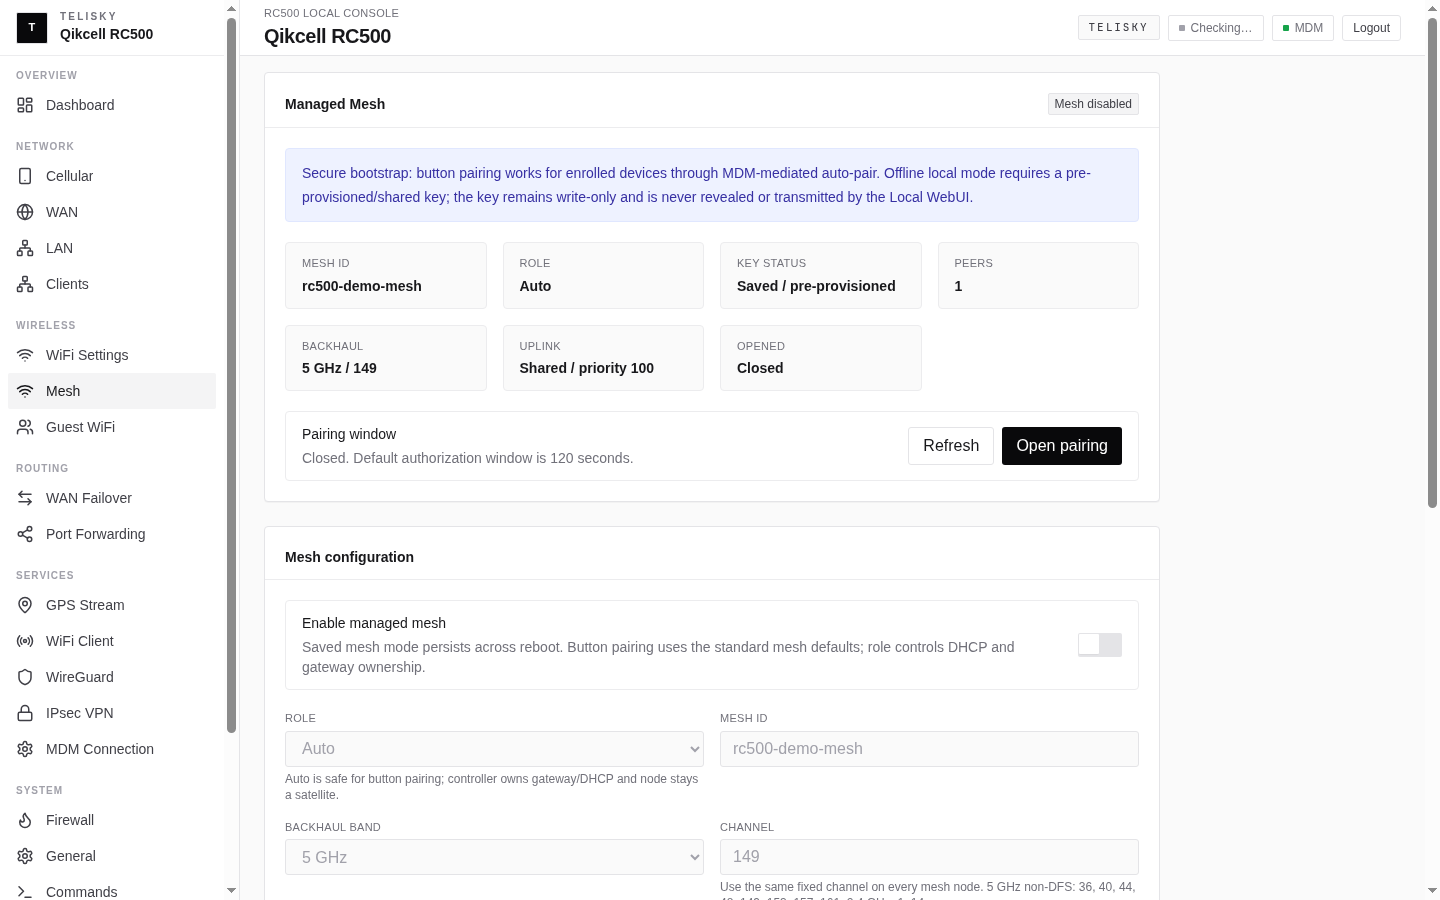
| Managed Mesh | Pair RC500 routers into a secure mesh backhaul and inspect peer status |
Routing
Section titled “Routing”| Page | What it does |
|---|---|
| WAN Failover | The order the router uses its internet connections, and how it health-checks them |
| Port Forwarding | Make an internal device reachable from the internet |
Services
Section titled “Services”| Page | What it does |
|---|---|
| GPS Stream | Forward live location to a collector |
| WiFi Client | Use another WiFi network as an internet uplink |
| WireGuard | A WireGuard VPN tunnel |
| IPsec | An IPsec site-to-site VPN tunnel |
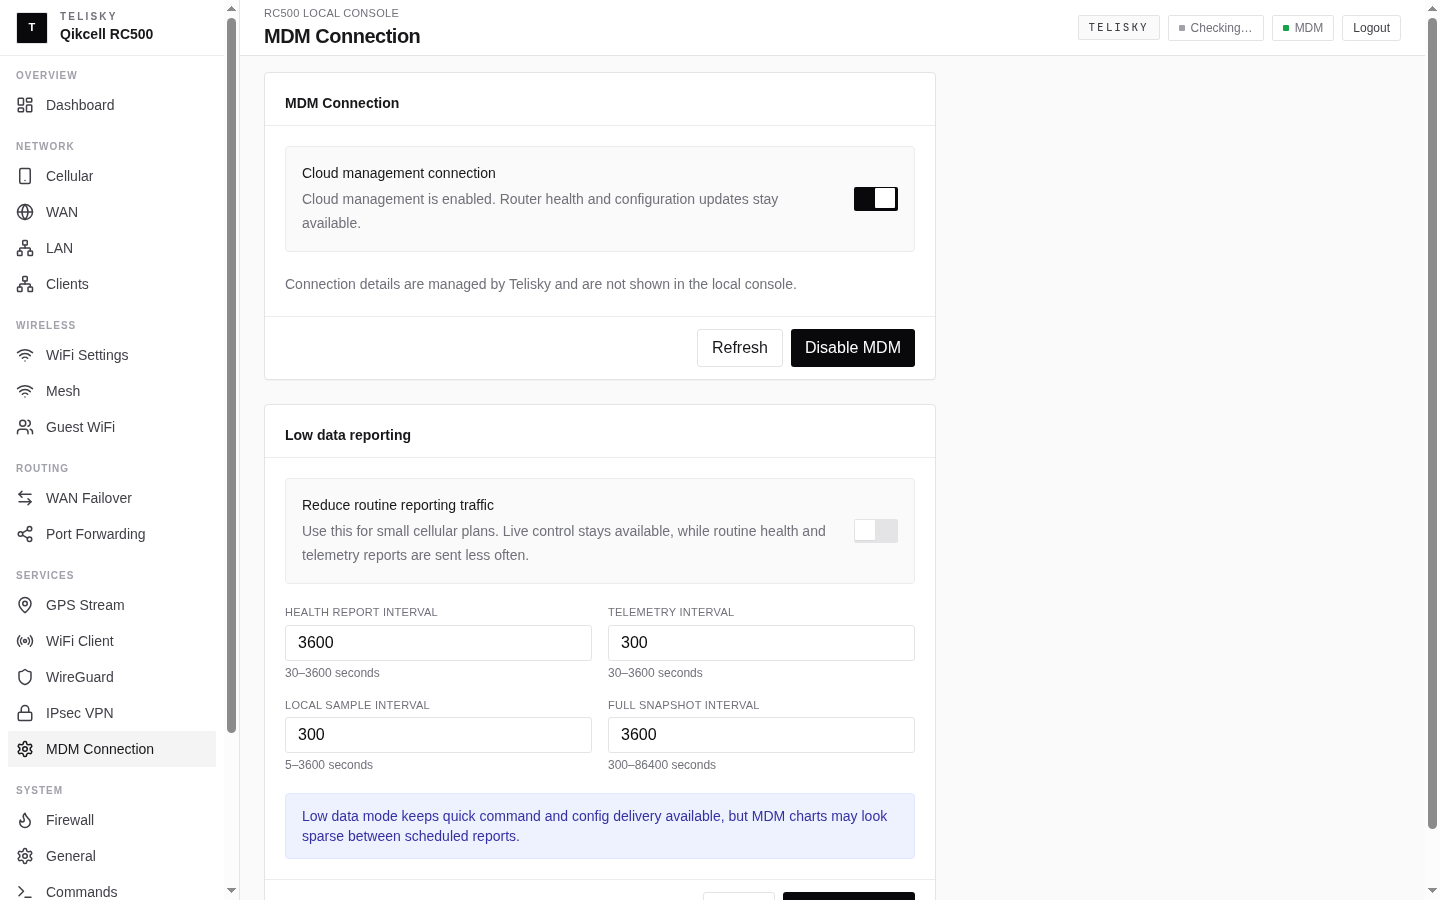
| MDM Connection | Attach the router to Telisky Cloud when instructed, enable or disable cloud management, and adjust low-data reporting |
| Remote WebUI | Allow authenticated HTTPS management through the cellular interface from explicit IPv4 source CIDRs |
| Modem Diagnostics | Capture a redacted support bundle when Telisky Support asks for deeper cellular evidence |
Remote WebUI security
Section titled “Remote WebUI security”Remote WebUI access is disabled by default. Use it only when your private APN or customer network routes management traffic to the RC500’s cellular interface. Add the smallest canonical IPv4 CIDRs that contain the management hosts (/32) or subnets (/16 through /32).
The router opens only TCP 443 on the runtime cellular0 interface and only for those sources. It does not open HTTP 80, SSH, or other ports. The HTTPS page still requires the local WebUI credentials.
An upstream IPsec tunnel is not itself an identity signal to the RC500: the tunnel must terminate at the carrier or customer gateway before traffic reaches the router, and the gateway must preserve the original source address. Do not allow a range only because it is private or belongs to the APN.
System
Section titled “System”| Page | What it does |
|---|---|
| General | Hostname, timezone, DNS, and system information |
| Commands | Reboot, configuration sync, and factory reset |
| Firmware | Current version, local file upload, and local URL updates |
| Password | Change the local Web UI password |
| Firewall | A read-only view of the router’s firewall rules |
What to change first
Section titled “What to change first”When you set up a new RC500, change these in order:
- Password - replace the supplied local Web UI credentials.
- Hostname - give the router a recognizable name (System - General).
- Internet path - confirm the wired or cellular connection you intend to use.
- WiFi name and password - set the SSID and passphrase you want.
- Cellular APN - only if your carrier requires a specific APN.